

Display tray

This tutorial
was created and put online on July 18, 2002.
Please do not copy or place this tutorial or any of the graphics on any site, or
send it through email.
Groups can freely link to it.
I don't have
the time to assist people doing this tutorial, but if yhou have problems
downloading the supplies needed, please email
me.
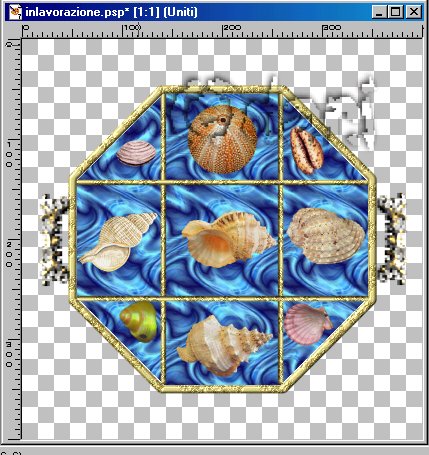
With this tray you can display the best items of your collection while serving tea ( or just anything) to your friends. I had the idea for this tutorial watching a beautiful tray on sale in a street market. I thought it was a wonderful idea to make it in PSP to show your tubes, for example shells or dried flowers. I'm using shells for mine, because I have found beautiful shell tubes.
This tutorial is rated
according to the FBNG's Skill Level Standard
For this tutorial you'll need:
- Paint Shop Pro, get it here
- a few tubes of shells or dried flowers, as you prefer, you can find some nice shells,( and also sea horses and starfish) here, or download these colored shells here, (I didn't remember where I got them, but I was told they were made by deed, of www.simplypixels.com, thanks :)
- The handle of the tray, get it here and save as a tube
- This pattern (or use another you like). Open it in psp, then minimize:
- Save this gold pattern in your pattern folder:

Let's begin!
Don't forget to save often!
1) Open a new image, 400 x 400, transparent
2) Layer 1: call it "border". Go to Preset Shapes, choose Octagon, antialias checked, line width 8, foreground light yellow, background nul. Draw an octagon from coordinates 50,50 to 350,350
3) Effects/Texture/Sculpture, find the gold pattern you've just saved, these settings:
4) With your magic wand select the area inside the octagon. Selections/save to alpha channel, call it octagon, click ok. New layer, call it "bottom". Set the foreground to the blue and white pattern, floodfill this layer with the pattern, scale 40, angle 0. Deselect.
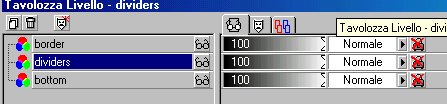
5) New layer, call it "divider". In your layer palette, arrange the layers so that this layer is between bottom and border, like this:
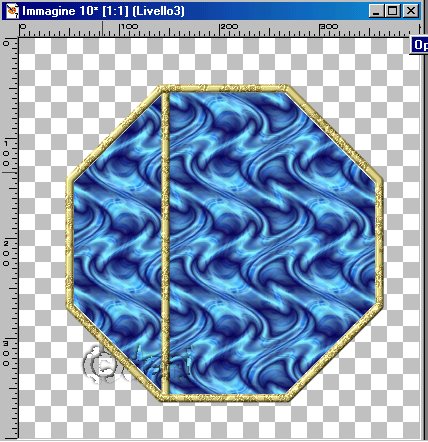
6) HIghlight the layer "divider". Click on your draw tool, line width 6, antialias checked, foreground the same light yellow as before. draw a line holding the shift key to make it straight, see example below, then go to effects/texture/sculpture as before:
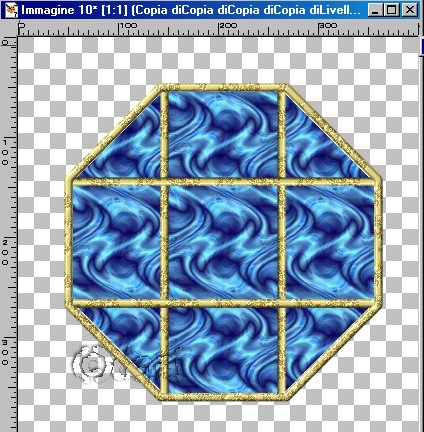
6) In the layer panel, right click on this layer and choose duplicate. Go to Image/mirror (Adjust with the mover tool if necessary), right click on this layer and choose duplicate. Go to Image/rotate 90°left, adjust with the mover tool. Right click on this layer to duplicate and Image/flip, adjust if necessary. Now your tray has 9 holes for your shells.
7) Let's make handles now. Highlight the layer on the top (border) and add a new layer. Click on your tube tool and find the handle you have downloaded, size 250. Click somewhere on the image, then Image/rotate 90° left and put it at the side of the tray with the mover tool. Effects/Inner bevel/ round. Right click on this layer in the layer palette and duplicate, then Image, mirror, adjust. Layers/Merge visible.
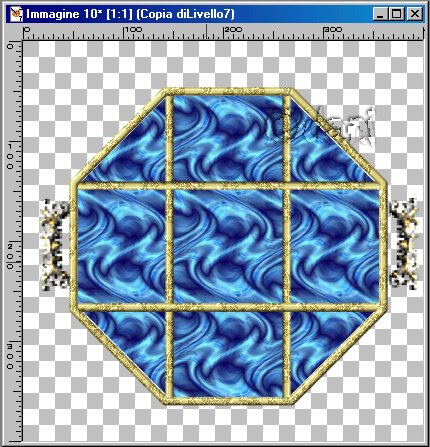
You have now a tray ready to be filled:
8) Go to yout tube tool, find the shells you want and place one of them in each hole, use a new layer for each tube, so you can adjust them later with your mover tool, you can rotate them, or use your deformation tool, when you are satisfied, go to layers/merge visible
9) Let's make glass now! Same level, Selections/ load from alpha channel, load your octagon selection. New layer. Effects/cutout these settings: Hor and Ver 0, Opacity 100 Blur 25, Color black. Deselect
10) New layer. Foreground nul, background white, go to your preset shape tool, choose ellipse, line width 1, antialias checked, draw a small and long ellipse anywhere (we'll put it in place later), go to image, rotate 45° left, let's move it with the mover tool in the upper left part of the tray. Effects/Blur/Gaussian blur radius3. Rightclick on this layer and lower the opacity to 90
11) Layers/merge all.
YOU'RE DONE!
Optional: if you want to use it as a tray, as in my first image, grab your deformation tool and drag the middle bottom handle towards the top, then clicking on your control key, drag the top left handle a little to the right. Then in your tool palette click on apply. Use your tubes to decorate.
Thanks for trying my tutorial :)
Tutorial Copyright ©dani 2002