

Portrait Tree
This tutorial
was created and put online on June 28, 2002.
Please do not copy or place this tutorial or any of the graphics on any site, or
send it through email.
Groups can freely link to it.
I don't have
the time to assist people doing this tutorial, but if you have problems
downloading the supplies needed, please email
me.

I had the idea of this tree-shaped portrait holder because I saw something similar in a shop window and thought it could be a nice way to display portraits of your family.
You can choose if you prefer to make it out of silver or gold. There is a gold example at the bottom of the page.
This tutorial is rated

according to the FBNG's Skill Level Standard
For this tutorial you'll need:
- Paint Shop Pro, get it here
- Download this zip file containing my selections and images needed, save the selections in your selection folder, open the other images in PSP and minimize them
- This silver pattern, or this gold pattern, save the one you like best and open in PSP:

Let's begin!
Remember to save often!
1) Open an image, 400 x 400, transparent background
2) Set your foreground to the silver ( or golden) pattern, size 100, angle 0
3) New layer, name it tree 1. Selections/Open tree1.sel, floodfill with the silver or gold pattern, effects/texture/sculpture/silver ( gold if you chose gold): use the default settings
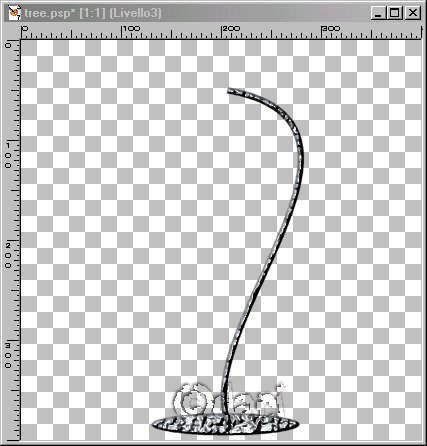
4) New layer, name it tree base. Selections/Open treebase.sel, floodfill with the pattern, Effects/texture/sculpture/silver ( or gold), move this layer below tree 1
This is your image so far:
5) New layer, name it tree2. Selections, open tree2.sel, floodfill with the pattern, effects/texture/sculpture/silver (or gold), move this layer below tree1
6) New layer, name it tree3. Selections, open tree3.sel, floodfill with the pattern, effects/texture/sculpture/silver (or gold), move this layer below tree1
This is what you have so far:
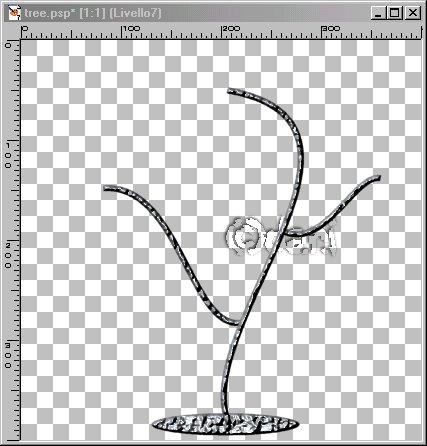
If you want more branches, just duplicate either layer tree2 or tree3 and move it where you want with your mover tool. Then layers/merge visible.
7) New layer, name it frame1. Selections/load from disc/frame.sel, floodfill with the pattern, effects/texture/sculpture/silver ( or gold)
8) Selections/deselect, with your magic wand click inside the frame
9) Open the first portrait you want to frame, with your selection tool select the face, edit/copy, edit/paste as a new image:

10) Copy the new image, highlight the tree image, paste into selection, keep selected
11) Let's add glass! Open the glass.psp image, edit/copy, edit/paste into selection:

12) New layer, name it ring, open the silver (or gold) ring, highlight it, edit/copy, edit/paste as a transparent selection, move this layer below the frame1layer. With your mover tool place the ring where you want it. Click on your eraser tool and erase a bit of the ring so that the frame seems to hang nicely from the tree:

13) New layer, selections/load from disc, frame2.sel, floodfill with the pattern, effects/texture/sculpture/silver /or gold)
14) Repeat steps 8-12 using another photo
15) New layer, selections/load from disc, frame3.sel, floodfill with the pattern, effects/texture/sculpture/silver (or gold)
16) Repeat steps 8-12 using another photo
17) Layers/merge visible. Save or tube your portrait tree.
Here is another example using gold:
See more results here
YOU'RE DONE!
Thanks for trying my tutorial :)
Tutorial Copyright ©dani 2002