|
Pink Rose Frame This tutorial
was created and put online on August 30th, 2002. Groups can freely link to it. I don't have
the time to assist people doing this tutorial, but if yu have problems
downloading the supplies needed, please email
me.
I had the idea of this frame playing with an image supplied by a group I belonged PSP_Dynasty, to be used wih Andrew's Filters 12. I added texture, other PSP effects and even made a brush to go with it :) I hope you enjoy this tutorial! This tutorial is rated
according to the FBNG's Skill Level Standard
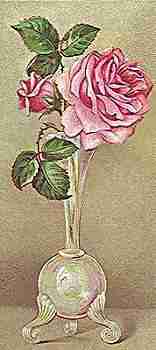
For this tutorial you'll need: - Paint Shop Pro, get it here - Andrew's Filters 12, download it here (it's free, and has an installer) or download it here (already converted to 8bf) - My rose brush, save it in your brushes folder - Simple Filter (only for the background), find it here - This image, rightclick and save it in your computer:
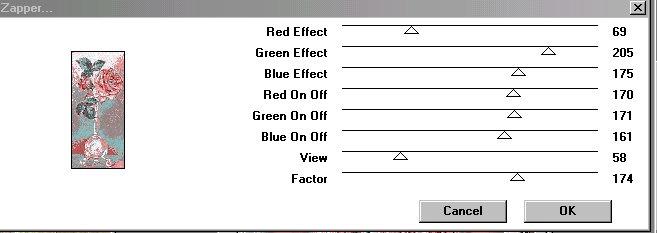
Let's begin! Remember to save often! 1) Open the image in PSP, go to Effects/Plugins/Andrew's Filters12/Zapper, these settings:
2) Make a copy of this image and minimize it, we'll use it later 3) Set your background to black, Image/Add borders/40 symmetric, take your Magic Wand, select this frame. Choose a nice pink from your image and set it as your foreground (I used #DF9797), set your foreground texture to Crumpled Paper2, floodfill the border twice.
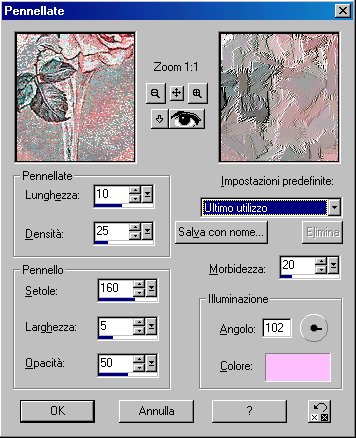
4) Go to Selections/Invert, then Effects/Cutout Hor and Ver 3, Opacity 100, Blur 10, color#808080, then repeat cutout same settings, but with Hor and Ver -3 5) Selections/Select none. Image/Add borders: 30 symmetric, select this border with your Magic Wand, open the copy of the rose you had set aside, go to Effects/Artistic/Strokes, these settings, the color is #FFC0FF:
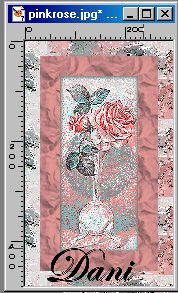
6) Set your foreground to Pattern, no Texture, and find this copy, size 100 angle 90, floodfill the border with this pattern. This is what you have:
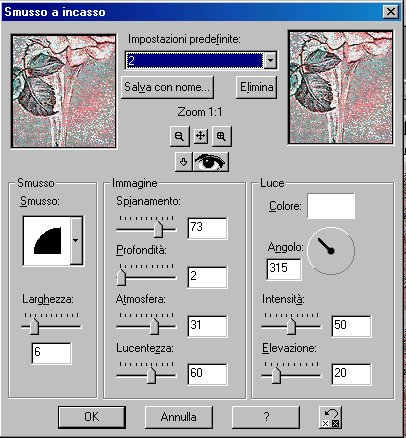
7) Repeat step 4, then Selections/Invert, Effects/Inner Bevel, these settings:
8) Selections/Select none. Layers/Add a layer, go to brushes, in the Tool Options click on the small brush on the left, then Custom Brushes, find the rose brush you have downloaded, click yes. Set the size of your brush to 50, Opacity 100, Step 25. With this brush click twice on the inner top left corner of the first border, like this
9) Effects/Drop Shadow: Hor and Ver 0, Opacity 50, Blur 20, Color: #808080 10) Go to Layers/Duplicate, Image/Mirror, Turn off the background layer, then go to Layers, Merge visible, duplicate the merged layer, then Image/flip 11) Merge all layers, go to Effects/Sharpen and save YOU'RE DONE! Optional If you want to make this background, Use the Simple Filter/Diamond on your finished image, then again Simple/Quick Tile
Thanks for trying my tutorial :)
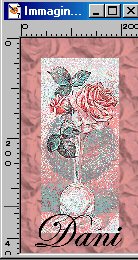
Nancy tested this tutorial, here is her result, thank you Nancy!
Tutorial Copyright ©dani 2002
|