

Oriental frame
This tutorial
was created and put online on June 18, 2002.
Please do not copy or place this tutorial or any of the graphics on any site, or
send it through email.
Groups can freely link to it.
I don't have
the time to assist people doing this tutorial, but if you have problems
downloading the supplies needed, please email
me.
I wrote this tutorial for the June Filter Challenge of Fantasy_PSP. It was the third favorite tutorial in the challenge, thanks to all the people who voted for me :) The image was provided by the group moderator.
This tutorial is rated
according to the FBNG's Skill Level Standard
For this tutorial you'll need:
- Paint Shop Pro, get it here
- Unplugged Colors filter, download it here, and save it in your Plugins folder
- This brush - unfortunately I don't remember where I downloaded it, so I can't give credit for it :( - save it in your brushes folder
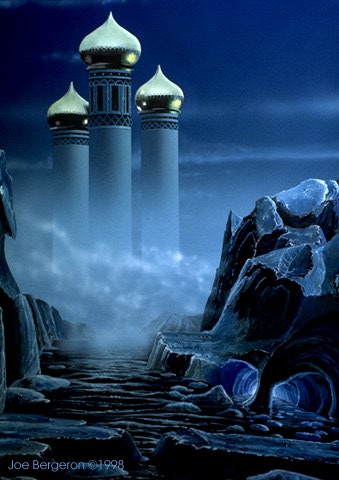
- This image, save it and open in PSP, you can use your own image, but in this case the effect of the filter may be different.
Let's begin!
1) Open the image
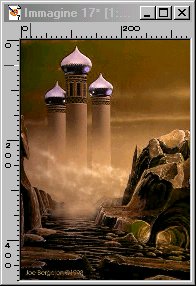
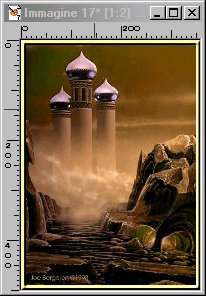
2) Go to Effects - Plugins - Unplugged Colors - Hue Flip - click ok
3) Set your background to a light yellow, Image - add borders - 10 symmetric
4) With your Magic Wand feather 0, select the border, go to Effects - texture - sculpure - gold - apply it twice
5) Keep selected, go to effects - inner bevel - rounded, deselect
6) Set your background to a light colour taken from the image
7) Image - Add borders - 25 Symmetric, select the border with your Magic Wand, Selections/ invert, go to Effects - Drop Shadow these settings: Hor and Ver 2, Opacity 100, Blur 22, apply another Drop Shadow changing Hor and Ver to -2. Deselect
8) Set your background to light yellow, Image, Add Borders, 10 symmetric
9) Select the border with your Magic Wand, go to Effects - Texture - Sculpture - gold, apply it twice, go to effects - Inner Bevel - round
10) Selections - Invert, go to Effects - Cutout, these settings: Hor and Ver 10, Opacity 51 Blur 25, apply once more changing Hor and Ver to -10, deselect
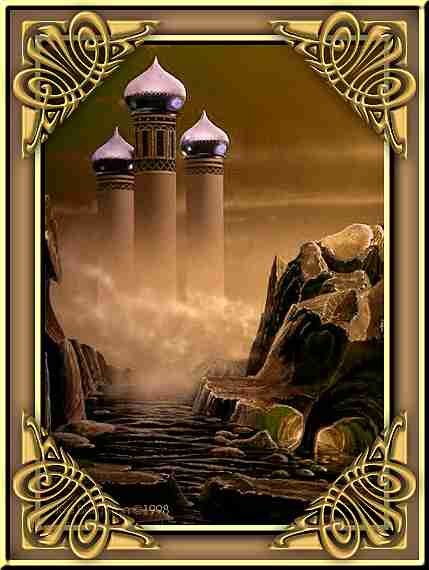
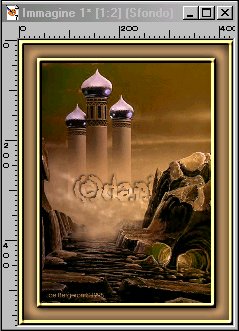
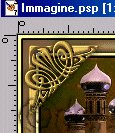
Your image should look like this:
11) New layer, click on Brushes, in the tool panel click on the small brush on the right top corner, choose custom and find the brush you have downloaded, size 150.
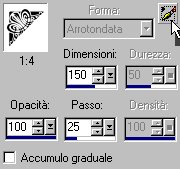
12) Set your foreground to light yellow and click 4 times on the top left corner of your image, being careful not to move your mouse, go to Effects, Textures, Sculpture, gold, apply twice
13) Effects - Drop Shadow same settings as before, but changing Hor and Ver to 0
14) Go to layers, highlight the top layer, right click and choose double, then Image - mirror, right click on the new layer and go to Image - Flip, right click again and Image - Mirror
15) Layers - merge all visible, Effects - sharpen
YOU'RE DONE!
Thanks for trying my tutorial :)
Tutorial Copyright ©dani 2002