

Create your mask
from a tube, a frame, or a preset shape
This tutorial
was created and put online on June 12, 2003.
Please do not copy or place this tutorial or any of the graphics on any site, or
send it through email.
Groups can freely link to it.
I don't have
the time to assist people in doing this tutorial, but if you have problems
downloading the supplies needed, please email
me.
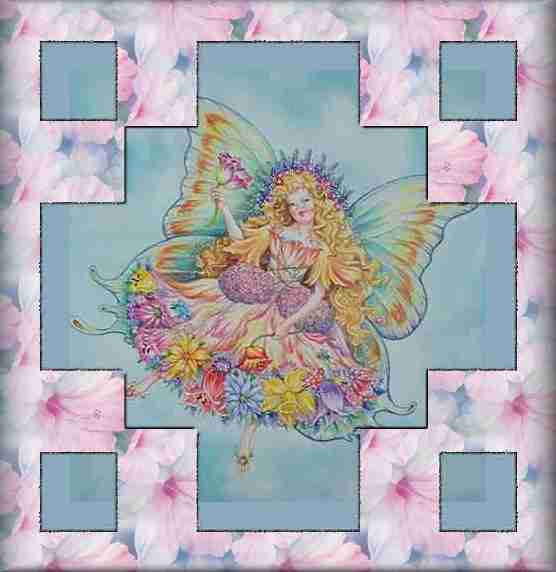
(This example was made using the mask in part 2)
This tutorial is rated
according to the FBNG's Skill Level Standard
For this tutorial you'll need:
- Paint Shop Pro, get it here
- the tube and the frame I used, download them here
Remember to save often!
Let's begin!
Part 1: using a tube
1) Open a new image, 400x400, floodfill with black
2) open the butterfly tube you have downloaded, Edit /copy, highlight the black image, Edit/paste as a new layer
3) Highlight the butterfly layer, Selections/select all, with your magic wand highlight the butterfly, add a new layer, floodfill the butterfly selection with white. Selections/deselect, Layers/Merge visible.
This is what you have:

4) Now you can save it as a jpg and use it following this tutorial or save it as a .msk file and use it following this tutorial. To do so , go to Masks/new/from image, then Masks/save to disk in your masks folder ans a .msk file.
Part 2: using a frame
5) 1) Open a new image, 600x600, floodfill with black
6) Open the frame you have downloaded, Edit/copy, Highlight the new black image, Edit/paste as a new layer
7) Highlight the frame layer, Selections/select all, with your magic wand highlight the frame, add a new layer, floodfill the frame selection with white. Selections/deselect, Layers/Merge visible.
This is what you have:
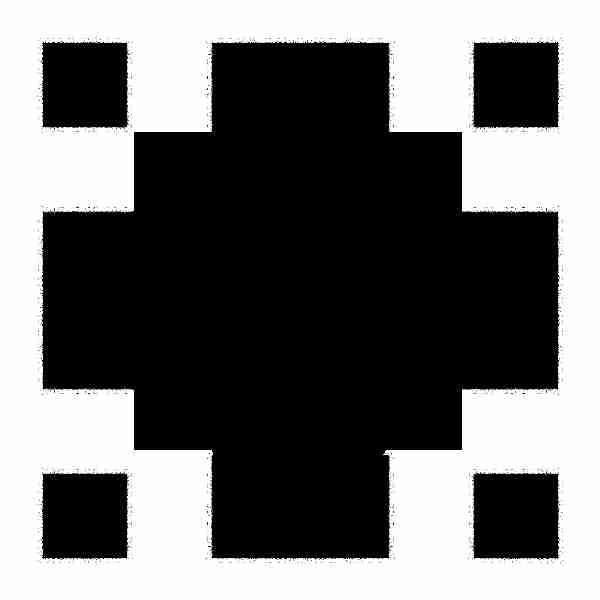
8) Save following step 4
Part 3: using a preset shape
9) Open a new image, 400x400, floodfill with black
10) Background white, foreground nul. Open your preset shapes, choose a shape you like, I chose heart one, create as vector checked. Draw the heart, then go to Objects/Align/centre in canvas. Highlight the vector layer, right-click and choose convert to raster. Layers/Merge visible
This is what you have:

11) Save following step 4
YOU'RE DONE!
Thanks for trying my tutorial :)

Tutorial Copyright ©dani 2003