

How to mask a tube
or a picture
This tutorial
was created and put online on May 14, 2003, and edited on November 7th , 2005
Please do not copy or place this tutorial or any of the graphics on any site, or
send it through email.
Groups can freely link to it.
I don't have
the time to assist people with this tutorial, but if you have problems in
downloading the supplies needed, please email
me.

See other examples below
This tutorial is rated

according to the FBNG's Skill Level Standard
For this tutorial you'll need:
- Paint Shop Pro, get it here
- This zip file containing the mask, the image,the tube and the frame used here
Remember to save often!
Let's begin!
If you are using the tube: ( for the image see below)
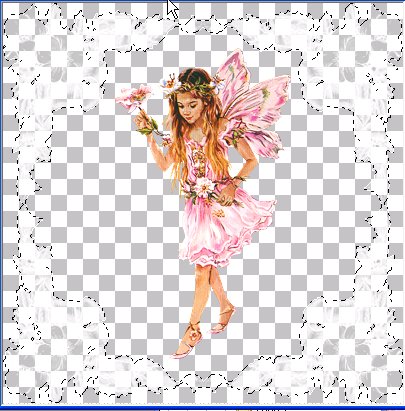
5) Floodfill this layer with white
8) Go to the background layer and floodfill it to match the tube and the mask color ( I used #F5CFD5), you can also use a texture, if you want. I used the Texture/Blinds effect with these settings: Width 5, Opacity 200, Horizontal and Light from top left both checked, color #E99745.
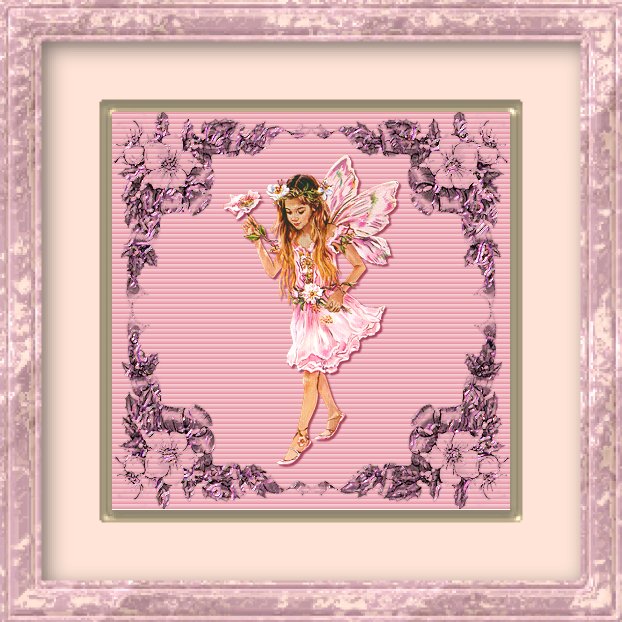
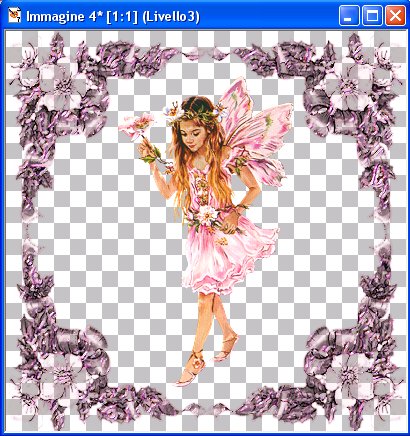
9) Go to the tube layer and adjust its size to the mask, make it bigger or smaller, and place it in the middle of the canvas. Add a drop shadow as before, only change Hor and Ver 2.
10) Go to Layers/Merge visible. Use this frame if you like, go to Image/add a frame and apply.
If you are using the image:
1) Open the image, set your background to a medium dark color taken from your image, and go to Image/canvas size and write 450x450
2) Follow steps 4-7 as above, only change the color of the drop shadow to dark grey
3) Go to the background layer and grab your retouch tool and choose Soften among your tool options. Soften the edges of the image.
4) Merge layers and add a white border. Select it with the magic wand and apply the same preset you've used for the mask
YOU'RE DONE!
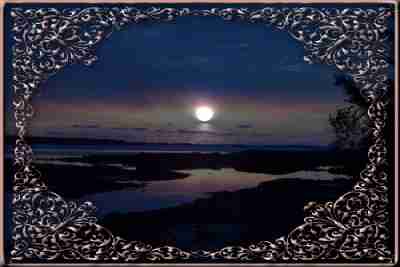
Other examples with a flower tube and a sunset image:


Thanks for trying my tutorial :)

Tutorial Copyright ©dani 2003