

Hopping bear
This tutorial
was created and put online on June 20, 2003.
Please do not copy or place this tutorial or any of the graphics on any site, or
send it through email.
Groups can freely link to it.
I don't have
the time to assist people in doing this tutorial, but if you have problems
downloading the supplies needed, please email
me.

This tutorial is rated
according to the FBNG's Skill Level Standard
For this tutorial you'll need:
- Paint Shop Pro, get it here
- Super Blade Pro, download it here
- the font and the bear I used, download them here
- the Super Blade Pro preset I used, download it here
Remember to save often!
Let's begin!
1) Open a new image, 600x350, foreground nul, background white, with your text tool write your name (this tag works better with long names), vector checked, size 72
2) Using the handles on the sides, adjust the size of the name till it fills all the image horizontally, and place the text at the bottom, to leave room for the bear.
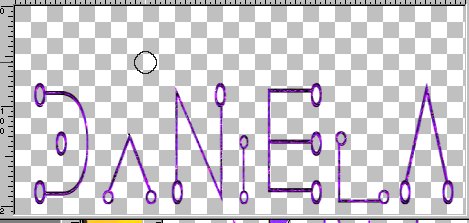
3) In the layers palette, click on the + symbol near the vector layer, then right-click on your name and choose convert text to curves, character form, now you'll see all your letters separately in different layers. Click on the letters you want to modify and vary their lengths ( I modified the second, fourth, and sixth letter, but it really depends on what you like and on your name). When you are satisfied, right-click on the vector layer and choose convert to raster
This was what I had:
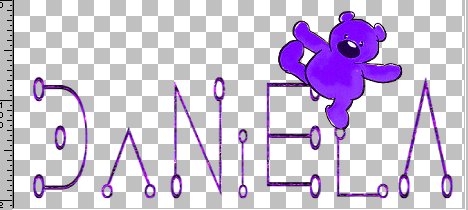
4) Go to selections/Select all, and with the magic wand select the text, go to Effects/Super Blade Pro/ apply the preset - ultraviolet - that you've downloaded, deselect, duplicate this layer ( I duplicated it 6 times because I had 3 modified letters, it depends on your name)
5) Open the bear tube you have downloaded, copy and paste it as a new layer, place it on the first modified letter, duplicate this layer ( I duplicated it 6 times), turn off visibility of all layers except this bear, and the first layer with the test, Layers/merge visible, rename it 1
This is what you have:

6) Close visibility of this layer, turn on one layer with the text and another with the bear, position it on the second letter shortened, Layers/merge visible, rename it 2
7) repeat step 6 for the third shortened letter, and call it 3. I had three, maybe you have more...if so you go on repeating this step
8) Turn on visibility of one of the text layers and of one of the bear layers, highlight the bear layer, go to Image/mirror and place the bear on the last shortened letter, and merge these layers, like this:
9) Repeat this step for each shortened letter, I had 6 layers now, because the letters I had shortened were 3, turn on visibility of all layers and save this image as .psp
10) Open Animation Shop, Animation Wizard, size animation, as the first frame, transparent, top left corner, canvas color, speed 30, add the image you have just saved, run the animation and change the speed to 40-50 if you like it better. Save
YOU'RE DONE!
Thanks for trying my tutorial :)
Tutorial Copyright ©dani 2003