

Glass Angel Tag
This tutorial
was created and put online on November 18, 2002.
Please do not copy or place this tutorial or any of the graphics on any site, or
send it through email.
Groups can freely link to it.
I don't have
the time to assist people in doing this tutorial, but if you have problems in
downloading the supplies needed, please, emal
me.

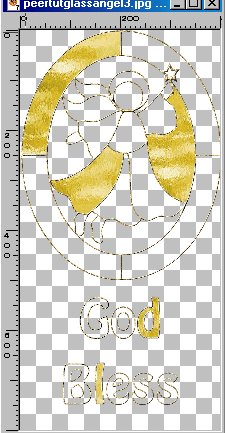
See another example below
This is an easy way to make a glass tag or to send a kind thought to your friends or to use in your emails as a sig. It would also make a nice bookmark to give for Christmas.
This tutorial is rated
according to the FBNG's Skill Level Standard

For this tutorial you'll need:
- Paint Shop Pro, get it here
- This black and white angel, download it here
- my glass tiles, download them here, I made one following this tutorial, and a few others colorizing it. To do this I set the color I wanted in my foreground, then clicked on it and noted the Hue and Saturation. Then Colors/colorize/Hue and Saturation= put the numbers you had noted. You can do more this way if you want.
- This filter: Eliminate White, download it here
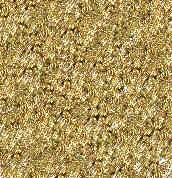
- This gold pattern, download it here and minimize
Remember to save often!
Let's begin!
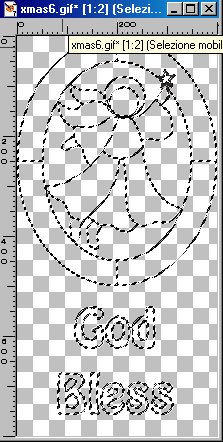
1) Open the black and white angel you've just downloaded, go to Colours/ Increase colours: 24 bits
2) Set your background to white, then Image/Canvas size: width 400, length 700/800/900 depending of the length of the text you are going to write below the image (I'm using 800 now) Horizontally centered: checked, Vertically centered: unchecked, top 0 bottom 300 (or 200 and 400 in the other cases), click OK
3) New level, foreground black, background nul, click on your text tool, choose a thick font, write the text you want , of course the size depends on the font, I used 72, Mobile and Antialias checked
4) Center the text moving the small square in the center, deselect, then Layers/ merge visible. This is what you have:

5) Go to Effects/Transparency/Eliminate white, and the white background will be removed
6) Selections/Select all, Selections/float, this is what you have at this point:
7) Set your foreground to pattern, choose the gold pattern you have downloaded and floodfill the selection, being careful to floodfill everything
8) Go to Effects/3D/Inner Bevel, apply the round preset, deselect
9) With your magic wand select a few areas you want to floodfill with the same color, keep the shift button pressed to select more than one area. Set the foreground to the glass pattern you want and floodfill, then deselect
10) Now repeat step 9 for all the other areas, choosing your favorite colors

11) Set your background to white, then go to Image/add borders, 10, symmetrical, with your magic wand select the border, and floodfill it with the gold pattern, then Effects/3D/inner bevel, same setting as before.
12) Resize and save as .jpg file.
Here is another example:

YOU'RE DONE!
Thanks for trying my tutorial :)
Tutorial Copyright ©dani 2002