

911 Heart Globe
Thanks to Alice and Laura who tested this tutorial :)

This tutorial
was created and put online on September 20, 2002.
Please do not copy or place this tutorial or any of the graphics on any site or
send it through
email.
Groups or lists can freely link to it.
I don't have the time to assist people in doing the tutorial, but if you have problems in downloading the supplies, please email me
I've been on the "Top of the World" two years ago and enjoyed it so much! The World Trade Center and the wonderful people I met there, are always alive in my heart.
To commemorate the anniversary of that terrible day I sent a similar globe to my group a few days ago, and received so many kudos that I decided to animate it and to write a tutorial.
This tutorial is rated
according to the FBNG's Skill Level Standard

For this tutorial you'll need:
- Paint Shop Pro, get it here
- This zip file containing the globe selection, the glass, and the tubes I used (some of them are made by me, some are courtesy of a group I belonged PSP_Dynasty), unzip the file, save the selection in your selections folder, and export the tubes)
- This pattern ( courtesy of KalamityKat). Right click and save it, then open it in psp, and minimize:
Let's begin!
Don't forget to save often!
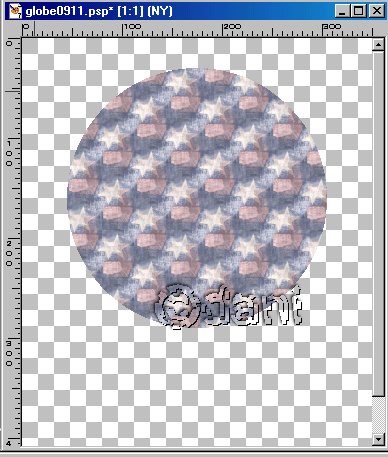
1) Open a new image, 350 x 450, transparent
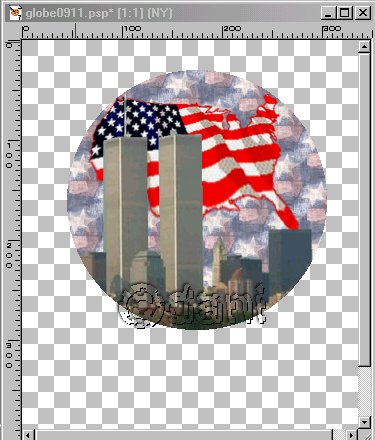
2) Selections/load from disk/globe0911, floodfill the selection with the pattern, size 25, direction 0, lower opacity of this layer to 80%, call it globebg, deselect.
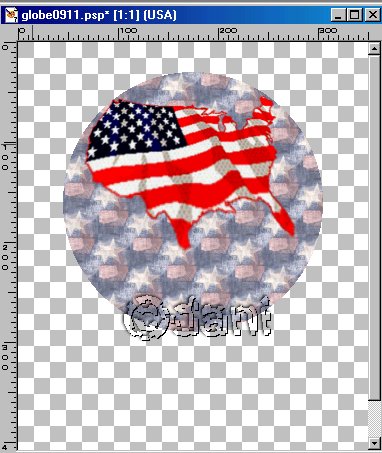
3) New layer, call it USA, find the USshapeflag amond your tubes, size 65, using the deformation tool position it in the upper part of the globe, press crl while grabbing the top left corner. Put the corner toward the center, until it fits the top circular area. Press again crl while grabbing the bottom left corner. This will help to make the tube fit better. When you are satisfied click on Apply.
4) New layer, call it NY. Selections/load from disk/load again the globe0911 selection, find the NYskyline tube you have downloaded, size 70, and position the towers on the left side of the globe. Use your Undo button till you are satisfied. Deselect.
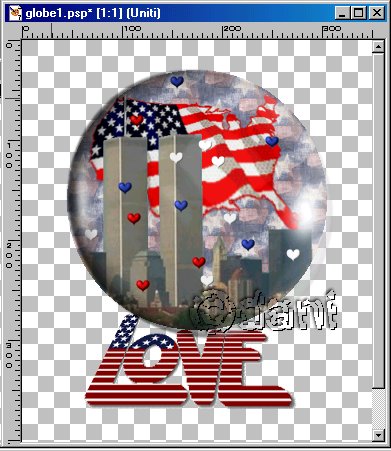
5) New layer, call it Love, find the USlove tube, size 100, position it below the globe, since this is going to be our base, grab your deformation tool and enlarge it dragging the left and right center handles, deform it pressing crl and the top left and the bottom left handles, when you are satisfied click on Apply.

6) Layers/ send the Love layer to the bottom, then Layers/merge visible.
7) New layer, call it glass, find the globe911 among your tubes, I used size 88, with your mover tool position the glass to fit the globe. If you have difficulties in lining the glass, you can go to Selections/load from disk/globe0911, open the globe911.tub, then copy and paste it into selection.
8) Shift D twice to have three images. Highlight the first image.
9) Highlight the merged layer, then in your tube tool find the colhearts, size 10, place a few small blue, white, red hearts inside the globe. Use the Undo button till you find the best position. Deselect, Layers/merge visible, save as globe1.psp.
10) Repeat step 9 for each of the remaining two images placing the hearts at random, and save them as globe2.psp, globe3.psp.
11) Open Animation Shop, Animation Wizard, use these settings for the Wizard pop-up windows: First window: as the first frame, Second window: transparent, Third window: center, canvas color, Fourth window: yes, 20, Fifth window: add globe1.psp, globe2.psp. globe3.psp. View/Animation. If you want to resize: Edit/Select all, Animation/resize.
12) Save your animation. File/Save as (write he name you want) , use the default settings.
YOU'RE DONE!
Thanks for trying my tutorial :)
Tutorial Copyright ©dani 2002